 0
0
How To Ski
Tips and advice for your first ski holiday from SNO


If you're wondering whether you can teach yourself to ski or learn from your friends, the simple advice is don't - and DO get lessons instead! Yes, they cost a little but much less than a spoiled holiday – and they'll get you skiing faster, easier and safer. There are lots of good ski schools with all the qualifications, experience and teaching techniques to get you gliding confidently down the piste in no time.
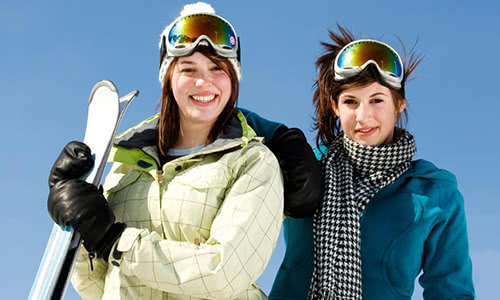
The best way to start skiing is to book a week of lessons, either in a group or on a one-to-one basis. Beginner's group lessons are brilliant: everyone's a similar age and in the same boat, and they’re a fantastic way to meet new people. For a more personalised program, book a private lesson – this can really help if you need a confidence boost and want to get your head around the basics in your own time.
with your own travel concierge. Send an enquiry or give us a call, and we'll
help you plan the perfect first ski holiday
020 7770 6888 ← online or call ↴
020 7770 6888
First ski holiday advice
How to put on skis
Before putting on your skis, get rid of any snow on your boots by scraping them across the bindings on your skis, or tapping them with your poles. Put the front of your boot in the toe binding first and step down firmly with your heel until the boot clicks into place and is held in properly.
To take your skis off, you need to press down on the back of your bindings, behind your heel (you can use your pole to help or get someone to step on it) and the bindings will release.
How to carry skis safely
When you're carrying your skis around the resort, you don't want one in each hand. Face the bottom side of your skis towards each other with one slightly higher than the other, bring them together and slide the higher ski down. The skis should join together with their breaks overlapping. Hold the skis carefully so that the breaks don't slip away. Carry them wrapped under your arm or over your shoulder (with one of the ski's bindings resting behind your shoulder – take care when you turn not to knock anyone!). This leaves your other hand free for ski poles which you can also loop over your wrist or the top of your skis if easier.
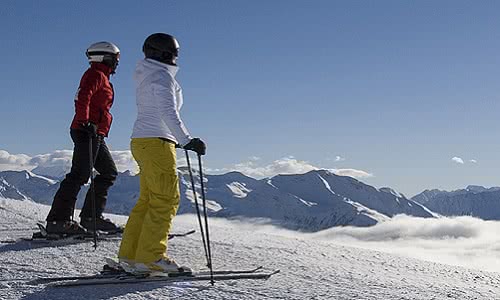
Your First Time on Skis
When you're reading up on how to ski, the advice can seem very technical. How to put your weight ‘here but not there' or leaning ‘one way but not too much'... While this can help some people, it can simply confuse others and make it more difficult to get your head (and body) around the basics of skiing.
The best advice is to not over-think the technical side of skiing, because it's all about getting the feel of it... Once you have, you're away!
Give yourself a very gentle introduction: Before you hit the slopes, practice walking and sliding around on a flat area, putting one ski in front of the other to get a feel for the snow. Make the most of the nursery slopes and areas reserved specifically for beginners, where you can benefit from a little trial and error in a safe place.
Ski posture & positioning for beginners
Keep your knees bent, with your shins resting on the tip of your ski boots. Lean slightly forwards to stay balanced. Keep your legs a shoulder width apart so you're more supported and point the tips of your skis inwards, making an upside down ‘V’ shape (this is called a snowplough). You don't want to start at the top of the slope with your skis facing downwards in parallel - to stand still on the piste, make sure your skis face across the slope rather than down and lean slightly towards the slope, or keep your skis in the snowplough position.
Ski fitness
There's no doubt that a little legwork every other day before you go can really help to make your week on the slopes easier. If the first exercise your legs get is the moment you try to learn this new physical skill, you may find that your legs are too tired to do what you're telling them by around the middle of the second day. Your time away is precious, so avoid spending too much of it getting ski fit and recovering from exercise you're not used to, by doing a few basics for the few weeks before you go. Simple squats or even regular cycling will make a huge difference to how used to exercise your body is, when you arrive in resort. There's no need to go over the top, but it’s that the fitter you are, the easier learning to ski will be.
First ski lesson
First you'll learn how to snowplough and do snowplough stops and turns. Snowplough is the position where the tips of your skis are close together and the backs further apart in the shape of an upside down ‘V'. The wider your snowplough, the slower you go and speed can be controlled by pushing the backs of the skis further apart to slow down and drawing them closer together if you want to go a bit faster. Make sure you look ahead, not at your feet.
To stop, you basically make the backs of the ‘V' really wide and bring the tips together, digging into the snow slightly. And to keep your speed well under control, don't face straight down the slopes but zig zag from one side of the piste to the other. Don't worry about falling – especially if it's the only way you feel you can stop – fall to the side and get your skis pointing across (not down) the slope. Even amazing skiers fall over now and again – it's less likely for people not to!
Beginner ski areas
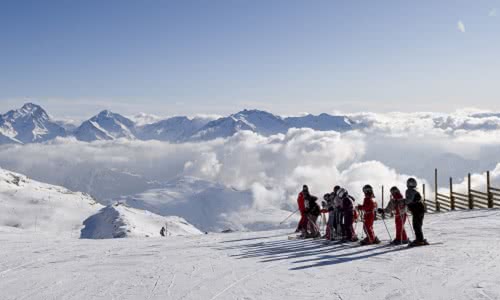
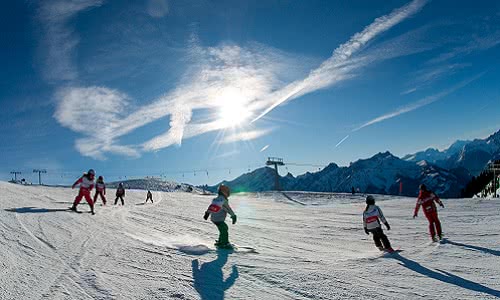
The first slope you use is a nursery run or bunny slope, which you can usually only access if you’re with the ski school. These are super gentle to learn your first turns on, with an easy-to-use magic carpet lift, rope tow or drag lift to take you up to the top. In bigger resorts, these runs are free which means you can hold back on buying a ski pass until you’re ready for the next stage.
Once you've conquered snowploughing and stopping on the beginner slope, your instructor will take you on some nice gentle runs where you can build up more momentum. Some resorts have specific Slow or Zen slopes where everyone has to ski at a gentle place to maintain an unintimidating atmosphere for beginners. It’s worth remembering the slopes you do in ski school for practice outside of your lessons.
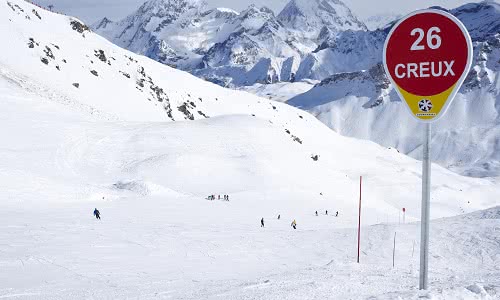
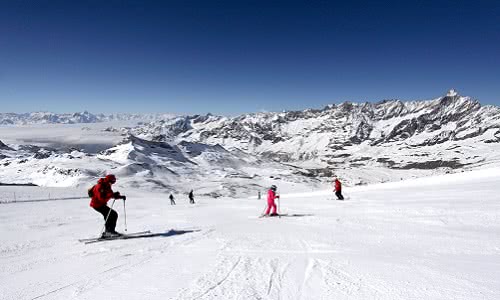
When venturing off the nursery slopes for the first time, know your piste colours! Ski runs are organised by difficulty through colours: blues are for beginners (some resorts also have greens for even easier runs), reds runs are for intermediates and blacks are the most difficult. Most skiers don’t do red or black runs until they’ve done a few weeks of skiing.
Start off on the easiest runs and only venture onto others if your instructor gives you the nod and you feel completely in control of your speed and direction. Our top tip is to take it very slowly - if you rush at this stage and scare yourself, it can be a big effort to get your confidence back.

How to ski FAQ:
Skiing for the first time is challenging. It isn't advised to get on a ski lift to the top of a mountain and attempt to get down without some experience first. There are many aspects to skiing that you need to get right - starting with your kit.
If you've never skied before you should book yourself, ski lessons and a ski instructor will run through the basics from start to finish. You would be surprised how many people put a ski boot on incorrectly without getting some advice first. Once you have picked up the basics, it will make learning to ski much more enjoyable.
Skiing is all about distributing your weight correctly. You want to have your weight as central on your skis as possible. To do this, you need to lean forward with your knees bent, so they are almost over your toes. Bend at your waist with your shoulders in line with your knees so that your knees toes and shoulders are all in a line. This may feel like you are leaning forward, but your weight is actually central due to the angle of the slope.
Snowplough turns are one of the first things you will learn when beginning to ski. You need to push the tails of your skis out forming a triangle or 'pizza' shape with enough space between the front tips of your skis for you to fit your fist between (so that they don't cross over each other). When making a turn, you want to put all your weight on your downhill ski (when turning left this would be your right ski and vice versa) and turn your downhill leg from the hip. You want to aim to turn your ski up the slope as this will slow you down and get you prepared for your next turn.
Parallel skiing is when you are skiing down a piste, and your skis stay parallel to each other. No matter what you are doing, your feet and ski stay parallel all the time. Your skis should be about hip-width apart. When you are learning to ski parallel, you will probably have them wider than this and build up to bringing your legs closer together. If they are too far apart, you'll find that the downhill edge will dig into the snow and your uphill ski won't be able to slide sideways.
Once you gain more confidence, you will be able to ski faster, turn quicker and look great on the mountain.
Having the right skis will play a massive part in your ability to carve. Carving skis, as the name gives away, are the best for carving. They have a thin base underfoot and an hourglass shape the ski will be doing a lot of the work for you. When initiating the turn, you need to get almost all your weight on your downhill ski turning it up the hill whilst rolling your ankles to get on to your inside edges. Then let the ski do the work.
The key to turning on skis is getting as much weight as possible on your downhill leg whilst turning your ski to point the tip up the hill. The turning action should come from where the top of your leg meets your hip. The aim is to have your body facing downhill as much as possible as this will naturally put much weight on your downhill leg.
Skiing backwards, although feels completely unnatural, should be done with same basics rules as skiing forwards. You should have your weight distributed evenly between both feet when skiing downhill in a straight line with a bend at your ankles knees and waist so that your shoulders knees and toes are in a straight line. This will feel like your leaning forward; however, you will be balanced when on a slope with an incline. When turning, get your weight on your downhill leg and turn the ski with your legs.
The technique for skiing off-piste should be done in the same way as skiing on piste – it is an old wives’ tale that you should be leaning backwards when skiing off-piste. Having the right ski makes a massive difference to the ease of skiing off-piste. If you’re on a pair 75mm underfoot piste skis, you’re going to be making life difficult on yourself. Powder ski’s or freeride skis are much better suited with their wide base you have much more natural balance. As with all off-piste skiing, we recommend hiring a guide or instructor to show you the best and safest spots - they can also give you technique tips.
This depends on what ski instructor board you believe has the right technique. CSIA, the Canadian Ski Instructor Association, teaches you to use the top of the moguls to initiate the turn as the snow is softer here and stops the ready carved tracks around the moguls getting in worse condition. BASI, the British associations of Ski Instructors, is less picky and advises turning between moguls and on top of them. What they both agree on for mogul skiing is picking your line down the mogul field is essential.
Skiing on a halfpipe isn't something you just attempt without never skiing anything similar. You need to slowly build up to skiing a full halfpipe to prevent injury. It would be best if you did a few practice runs first using only part of the halfpipe so that you get a feeling of what it is like. Don't try any tricks you haven't tested out on more forgiving terrain.
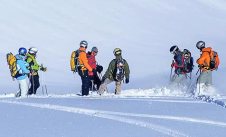
Get a ski guide for your first time ski touring so that they can show you the basics and give you advice on routes to take in future. Ski touring involves putting 'skins' on the bottom of your skis and walking your way up the mountain in a sliding motion.
Your boots are only clipped in at the front, making it easy to slide uphill. The skins are a carpet-like material making it next to impossible to slide back down the hill. Once you've walked up to your destination, take off the skins and ski back down. Ski touring takes you off the beaten track so make sure you've researched the local avalanche conditions and safety advice.


© 2025 SNO Group Ltd • company no. 5995288 • VAT no. 946 9394 63 SNO, Apsley House, 176 Upper Richmond Road, London, SW15 2SH.
| why log in? |
Save Wish List view on any device
Share Holidays choose with friends
020 7770 6888
